How to Layer Necklaces: A Gentle Progression from Simplicity to Story
Layering jewelry isn’t about piling things on.
It’s about composition. Intuition. A little alchemy.
There’s no single right way to do it — only what feels right to you.
But if you’re just beginning, these guidelines created by the Glass Balloon stylists can help you start with balance and ease. Think of them like scaffolding: something to support you until you find your own rhythm.
As we build on these guidelines, we'll take you through 4 different levels of layering jewelry starting with beginner-friendly (level 1) tips to expert level expression (level 4).
The more you layer, the more fluent you become in your own style.
And eventually, you’ll know which rules to break — and why.
✧ Base Guidelines for Layering Necklaces

These five principles will carry through each stage of your jewelry layering journey. We'll build on them together as we go through this guide.
So let's begin.
-
Start with an anchor piece. Your anchor is the piece you wear without thinking. This necklace will group your layering. It might be:
-
- A chain you never take off
- A pendant that feels like a talisman
- A necklace with just the right weight and memory
-
-
Vary the lengths: For your second layering necklace, spacing matters. Here's a simple layering trio to start:
-
- 14-16 inches: Choker or collarbone-grazing piece
- 18 inches: Standard pendant length
- 20-24 inches: Longer chain or lariat for movement
-
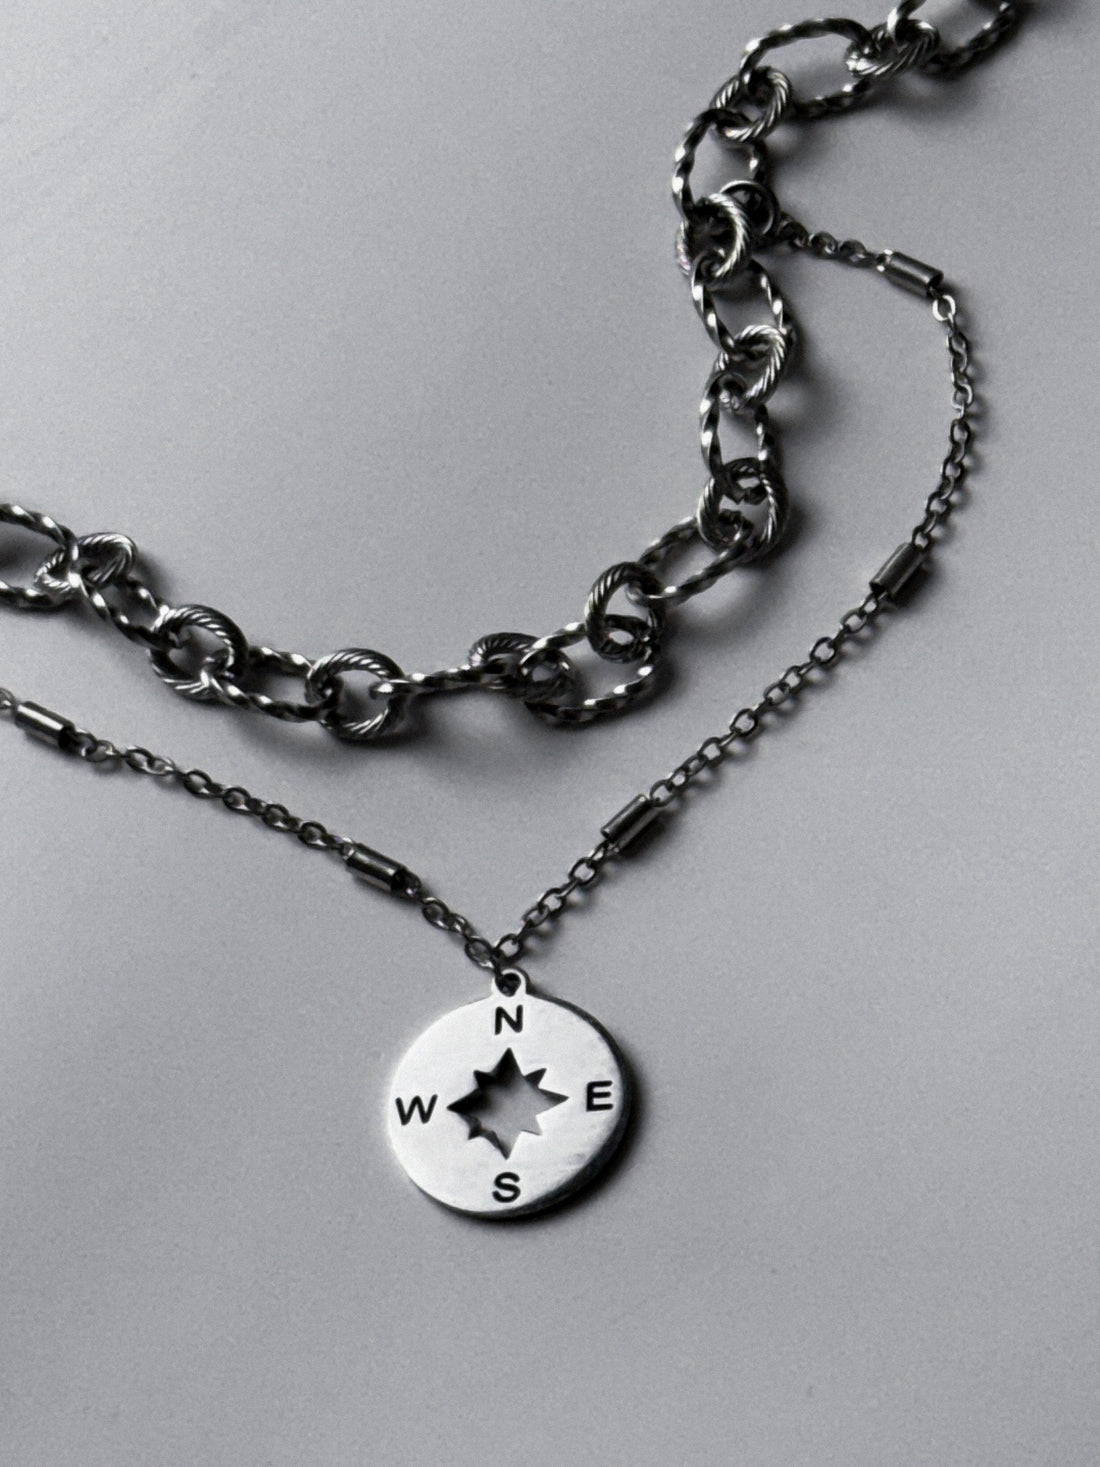
- Mix textures to add dimension: Texture is what gives a layered look depth. It’s not just visual, it’s tactile. For your overall look, try to choose a second necklace that has a different texture than your anchor piece
✨ Tip: Try layering with at least 2-inch difference between each necklace for clarity and comfort. Use chain extenders if needed.
Now, it’s time to layer.
The Levels below offer a gentle progression from simple to striking. They’re designed to help you experiment with intention, while still leaving room for feeling.
Level I: Layer two necklaces — balancing length and texture
Level II: Add a third piece — play with contrast, shape, or color
Level III: Mix metals and moods — break the “rules” and find your rhythmLet these be invitations, not steps to complete.
Start where you are. Layer what feels like you.
✧ Level I. Two Necklaces, One Mood
Start with simplicity. This is a beginner friendly level to layer your necklace in practice.

At this level, you’re working with two necklaces — often the most wearable and reliable combination.
Let's build on top of the base guidelines:
- Set your goal: Aim for layering 2 necklaces that feel balanced, not busy. This level is about creating harmony through contrast, not complexity.
- Choose your 1st necklace: Select one piece as the anchor piece. Pick the piece you wear most often. This might be a pendant you also reach for or a chain you forget you're wearing.
-
Add a 2nd necklace: Now bring in something that complements the first necklace.
-
- Vary the lengths. Choose a necklace 2-4 inches longer or shorter than your anchor necklace
- Choose a different texture. Mix flat with round, smooth with ridged, dainty with bold
- Thickness. Layer a delicate chain with something more substantial to add depth
- Metals. While you can mix metals at higher levels, starting with a single tone (i.e all gold or all silver)
-
✨ Tip to prevent tangling: Necklaces will naturally tangle a little bit, and it's okay! But some paired necklaces will tangle more than others. To minimize tangling, choose necklaces with different weights or textures, put the lighter, shorter necklace on last so it sits above, or use necklace extenders or layering clasps.
✧ Level II. Three Necklaces, Play with Contrast

By now, you’ve mastered the two-piece stack. Level II builds on that foundation by adding depth.
-
Begin with your Level I stack. Return to the 2 necklaces, the anchor and the complement piece, you've already styled and lay them flat. Feel what's missing. Is it a focal point? A curve? A pop of color?
-
Introduce the 3rd piece. Add one element of contrast
-
- Shape
- Color
- Texture
- Length
-
-
Visual flow. Now your layers take on a rhythm. This structure brings cohesion even when each piece is unique.
-
- Anchor — the grounding piece
- Bridge — ties the look together
- Accent — boldest or most unexpected, drawing the eye
-
- Try them on. Adjust. Step back. You might love it right away or something may feel slightly off. That’s part of the process.
✧ Level III. Mix Metals, Moods & Meanings — Break the Rules

You’ve built your stack with intention — layering length, texture, and contrast.
Now comes the moment to let go a little.
Level III is about permission. To break symmetry. To mix metals. To pair the unexpected. To trust that your style doesn’t have to make sense. It just has to feel like you.
-
Say yes to contrast. Let your necklaces clash just enough to create spark. Here's where you can begin to layer across dimensions.
-
- Mix metals: gold, silver, gunmetal, bronze.
- Blend eras: a vintage locket with a modern chain
- Embrace asymmetry: a long pendant paired with a choker and a beaded strand
- Layer by mood, not logic: something soft, something sharp, something sentimental
-
-
Lean into recurring themes. This is how contrast becomes cohesive. Not through matching, but through resonance. For example, if you’re layering two gold necklaces with one silver, try this:
-
- Add a silver charm to a gold chain
- Stack a few silver rings to balance the tone elsewhere
-
- This is where style become signature. By now, you've learned the shapes and shadows of your style. Now you get to bend them. Mix with curiosity and layer with courage.
To learn more about finding your jewelry style, explore our Jewelry Archetype Guide
✧ Summary: Your Layers, Your Language

Layering jewelry isn’t about doing more.
It’s about listening more closely — to what already feels right.
Start with one. Then add what feels like you.
That’s where your style lives — not in trends, but in tenderness.
For more jewelry styling tips:
✧ Explore our Jewelry Archetype Guide
✧ Or start curating with Glass Balloon’s collections


